
A plumbing leak guide for Waynesboro homeowners with simple steps for sinks, toilets, and shutoff valves before water damage spreads.
A small leak can waste water, stain cabinets, and turn into a bigger repair fast. This guide shows you how to find the source, shut off the water, and decide what to fix first. If you need a plumbing leak guide for Waynesboro, start by checking the visible fixtures, listening for hidden flow, and testing valves one at a time. The safest first move is to stop the water, dry the area, and trace the leak from the highest wet point downward.
Most leaks start in places you can reach without special tools. That includes supply lines, sink drains, toilet parts, and appliance hookups. A slow drip may look minor, but it can still damage wood, drywall, and flooring if you leave it alone.
Suarez Home Repair helps homeowners in Waynesboro handle repairs before small issues spread. Use the steps below to narrow down the problem, then call for help if the leak is behind a wall, under a slab, or tied to damaged piping.
Start by stopping the water flow. Turn the local shutoff valve under the sink, behind the toilet, or near the fixture. If you cannot find the fixture valve, use the main shutoff for the home. Then dry the area with towels so fresh water stands out.
Once the area is dry, you can track the leak more clearly. Look for new drops, damp seams, or water that appears after you turn a handle or flush a toilet. This first step keeps the damage from growing while you inspect.
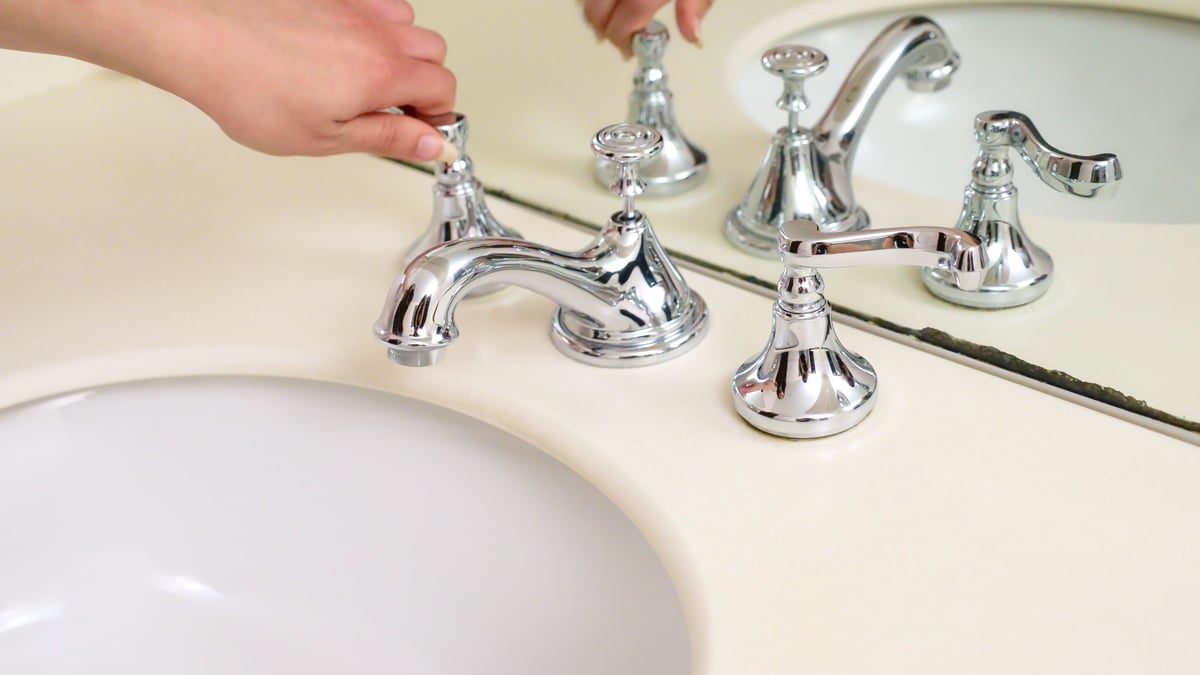
Look under each sink for wet fittings, loose nuts, or corroded supply lines. Run the faucet for a minute and watch the pipes as the water moves through them. If the leak appears only while the faucet runs, the drain or supply side may be the problem.
Touch the joints with a dry paper towel. A towel will show small seepage that your eyes may miss. Check the trap, tailpiece, faucet base, and shutoff valves. If the leak follows use of the sink, the issue is usually close to the fixture.
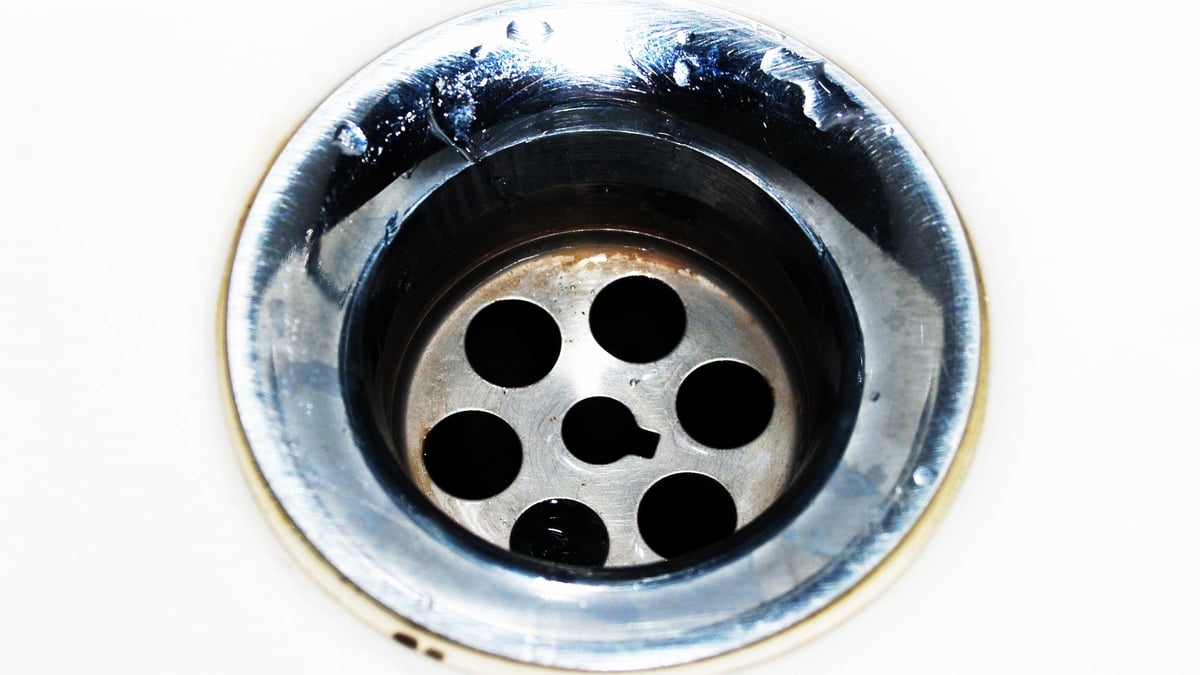
Focus on loose connections, cracked hoses, worn washers, and water around the faucet base. A slow drip can run along a pipe and make the wrong spot look guilty, so trace the moisture back to the highest wet point.
A toilet leak often shows up as water at the base, a soft floor, or a tank that keeps refilling. Lift the tank lid and check for wobbling parts, a worn flapper, or water that runs into the bowl without a flush. Then inspect the floor around the base.
If the toilet rocks when you sit on it, the wax seal or mounting may be failing. That kind of leak can spread under the flooring before you notice it. In that case, stop using the toilet until you know where the water is going.
If you see stains, bubbling paint, or soft drywall, the leak may be hidden. Follow the stain upward and inward to find the likely path. Water often travels along framing before it shows on a surface, so the visible spot may not be the source.
Listen for dripping inside walls after you shut off fixtures. Check rooms below bathrooms, laundry spaces, and kitchens for damp ceilings. When the leak is hidden, a repair may require opening a wall or ceiling in a careful way.
You do not need a full toolbox for a first leak check. A few basic items make the job easier and cleaner. Gather them before you start so you can move quickly from one fixture to the next.
Call for help if you cannot find the source, the leak returns after a quick fix, or water has reached framing, drywall, or flooring. Hidden plumbing issues can sit behind finishes and keep causing damage even after the surface looks dry.
If the pipe is cracked, a joint will not seal, or the leak comes from a wall cavity, a pro can inspect it without causing extra damage. For homeowners in Waynesboro, Suarez Home Repair can help you decide whether the repair is simple or needs a larger fix, and you can also review our plumbing repair services for next steps.
Start with a dry surface and test one fixture at a time. If water appears only during use, the fixture or drain is likely involved. If moisture shows up when nothing runs, the pipe, joint, or hidden line may be the source.
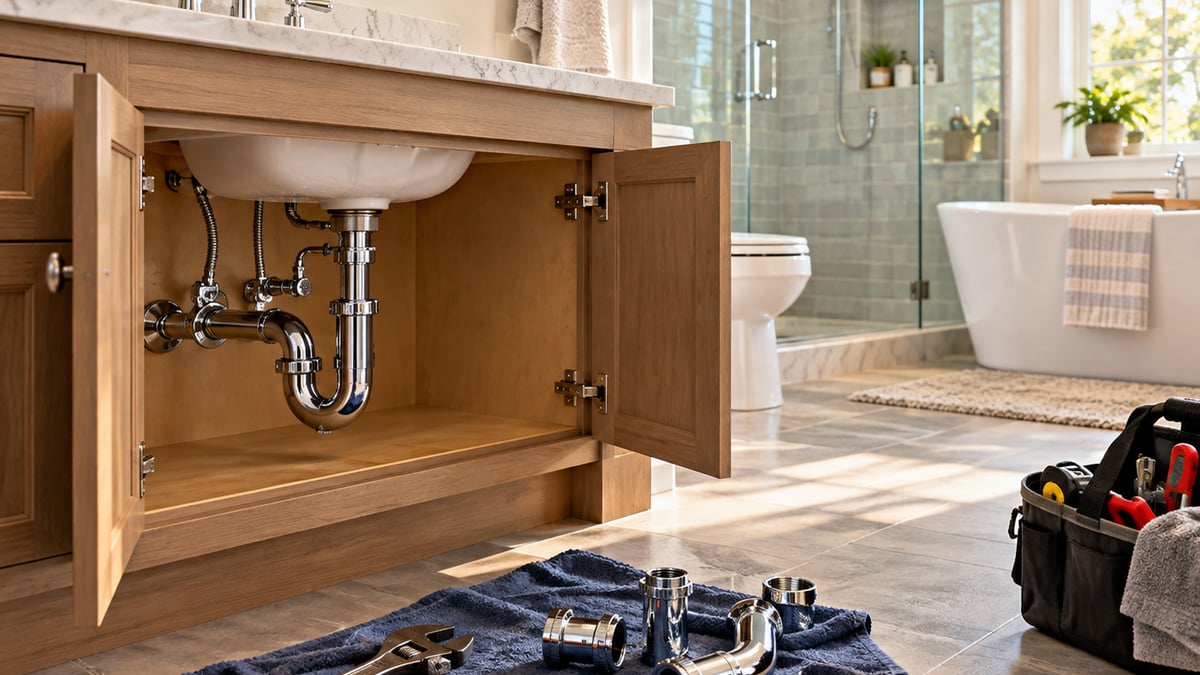
Turn off the shutoff valve under the sink or the main water supply if needed. Then dry the cabinet, watch for fresh drops, and check the supply lines, trap, and faucet base. This helps you see where the water starts.
A small toilet leak can soak the subfloor over time. Water may collect around the base, seep under tile, or weaken wood beneath the fixture. If the toilet rocks or the floor feels soft, stop using it until the issue is checked.
A hidden leak becomes urgent when water is spreading fast, ceilings are sagging, or power may be near the wet area. Shut off the water, stay clear of electrical danger, and get help quickly so the damage does not spread.
A fast leak check can save time, water, and repairs later. Start with the shutoff, inspect the common fixture points, and keep an eye on any stain or damp spot that returns. If the leak is hidden or keeps coming back, reach out for help and get the problem handled before it grows.